Silksong High Halls walkthrough
How to complete High Halls in Hollow Knight: Silksong.


High Halls is where you'll be collecting the Conductor's Melody in Silksong, which is the third of the three melodies needed for the Threefold Melody. Fortunately, if you've already tackled the likes of Cogwork Core and Whispering Vaults by now, Silksong's High Halls is a breath of fresh air. That is until you reach the formidable High Halls gauntlet at the end of the area…
To help make sure you don't miss out on anything important in this area, here's our Silksong High Halls walkthrough, as well as how to beat the High Halls gauntlet.
Silksong High Halls walkthrough
Our journey through High Halls begins from the Bench in the top-left corner of Choral Chambers, shown on the below map:

You'll also want to be prepared to be using the Clawline ability plenty, and will need to make the most of your platforming skills throughout this area. It's only a small area compared to the likes of Whispering Vaults and the Underworks, but your platforming skills are going to be put to the test. High Halls has nothing on the Sands of Karak, though!
Start your journey by going to the right of the above Bench, and using the Clawline ability to ride up the discs there.

At the top of this passage, there's a huge spool of Silk to collect on the left. Continue to the right to enter a new room. You're officially in High Halls now!
Collect the Spool Fragment
First things first, we're going to collect High Halls' Spool Fragment. To do so, make your way to the right using the Faydown Cloak and Clawline while avoiding the Cogfly-spawning enemies – Maestros – along the way.

At the end of this path, exit into the next room, which is a tall chamber that we need to ascend to the very top. To do this, you'll need to use the moving Clawline discs throughout the area while avoiding any spike traps. There's also some very annoying Minister enemies to avoid too.

Otherwise, the path to the top of this chamber is very straight-forward. Your main trouble will be trying to not get hit by Minister enemies while attached to Clawline discs, so I recommend clearing these enemies out as soon as they're aggroed onto Hornet.
That said, you can also pogo or Clawline off of these enemies to ascend the chamber rather than making risky double-jumps and so forth, but they tend to get in the way more than anything else.
Atop the chamber, you'll be able to break a lamp to receive a Spool Fragment.

Collect the Cogfly Tool
Up next, we want to head back down the chamber and exit into the room on the right-hand side of it, approximately half-way down (pictured below).

In the next room, you want to keep heading right, using the Clawline discs and double-jump to do so. Be careful not to fall into the water here, as it'll send you back to the very beginning of the room again. There's also more Maestro and Minister enemies to take down (or quickly dash past).

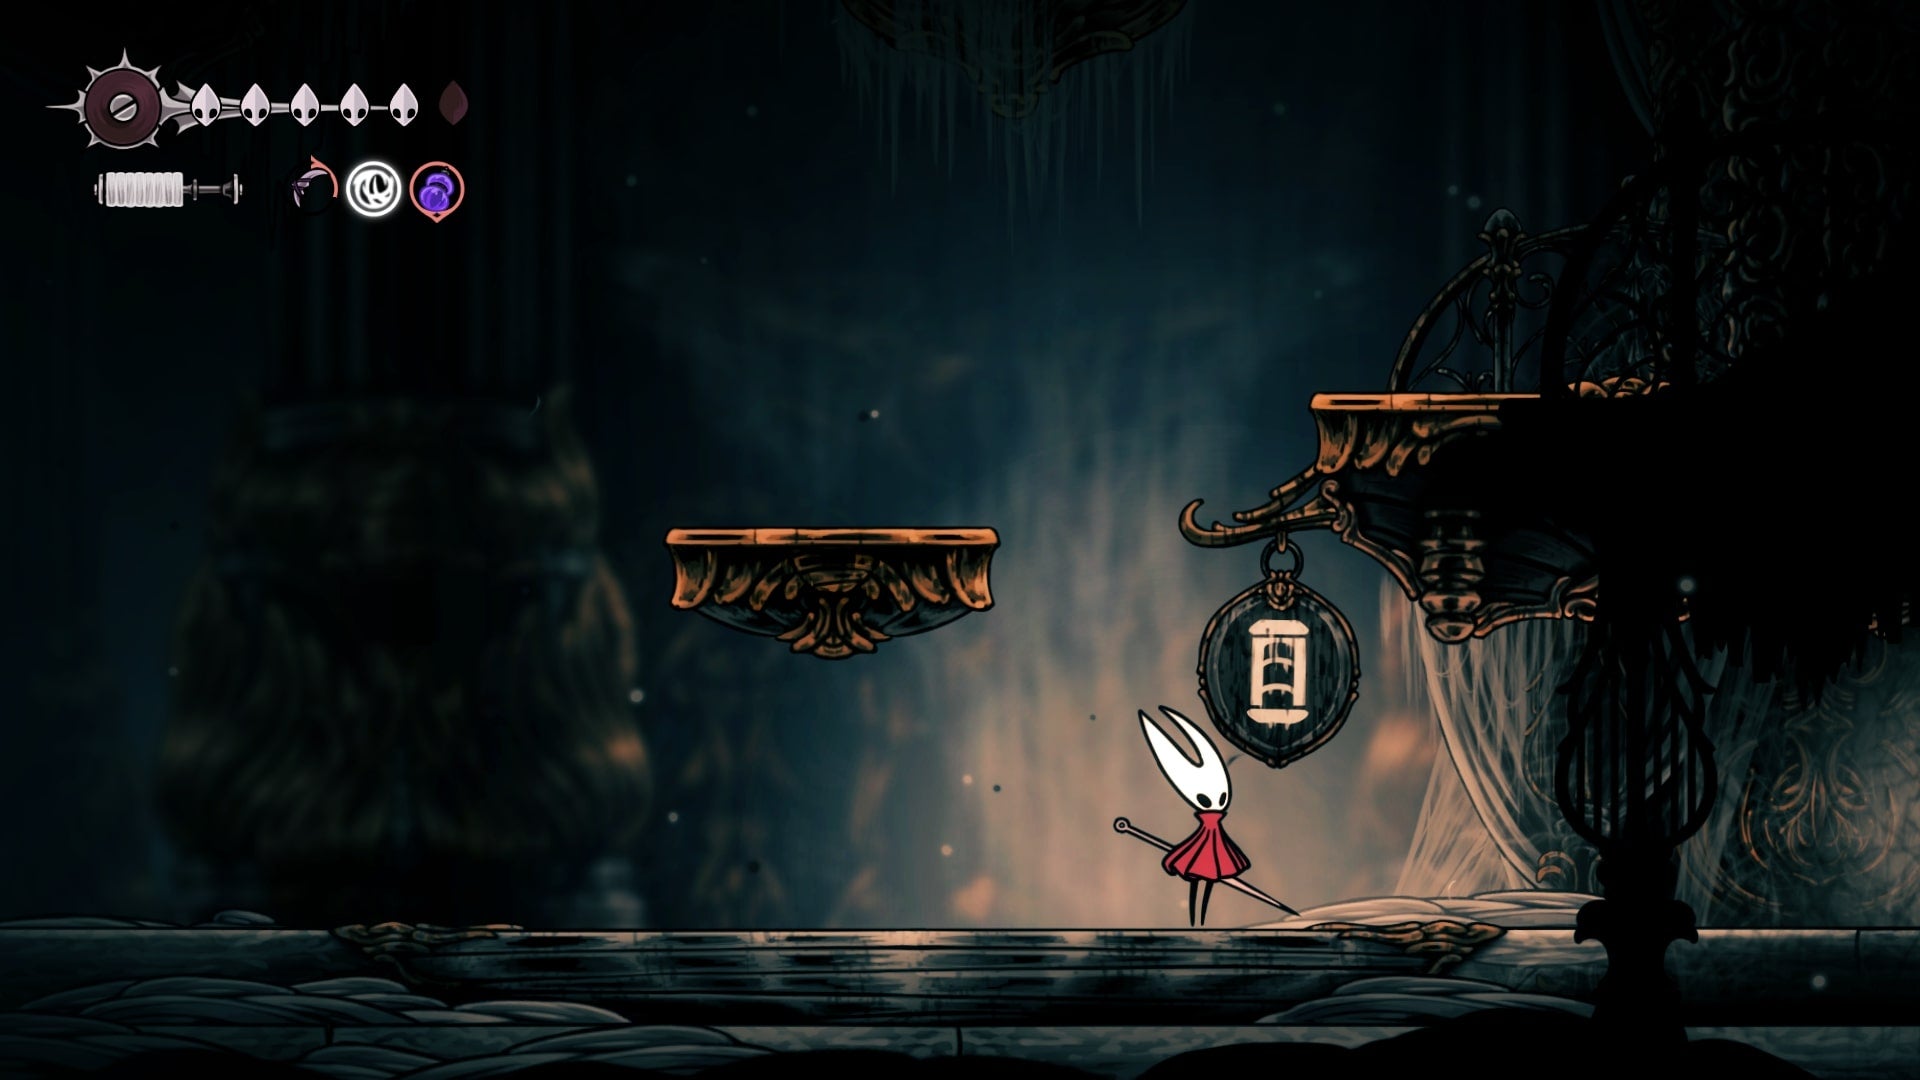
Once you exit this room, you'll find yourself in yet another tall chamber. Rather than using the Clawline discs in front of you to head upwards (which lead to a Rosary Cache and nothing else), look down. You'll see a narrow passage beside the spikes that we need to carefully float down next.

After floating down the narrow passage pictured above, there'll be another Clawline disc next to you. Clawline onto it and the spikes beneath you will move, revealing more of the path downwards.

You'll need to repeat this process once more before arriving at another Minister enemy.
From the Minister, head left into a new room. On the far left of this new room, you'll find a workbench where you can craft the Cogfly Tool using a single piece of Craftmetal. I highly recommend doing this, as the Cogfly Tool allows you to spawn multiple Cogflies that will attack enemies for you.

These guys can deal with Pharloom's enemies while you focus on platforming, and will also help deplete the health of bosses much quicker too. Pair them with the Pollip Pouch and they'll also inflict poison!
When you're done here, exit the room to the right again and proceed downwards through more narrow spiked passages. Once you reach the very bottom, head downwards into the room with the Ventrica signpost outside of it.
Unlock the Bench, Ventrica Station, and Map
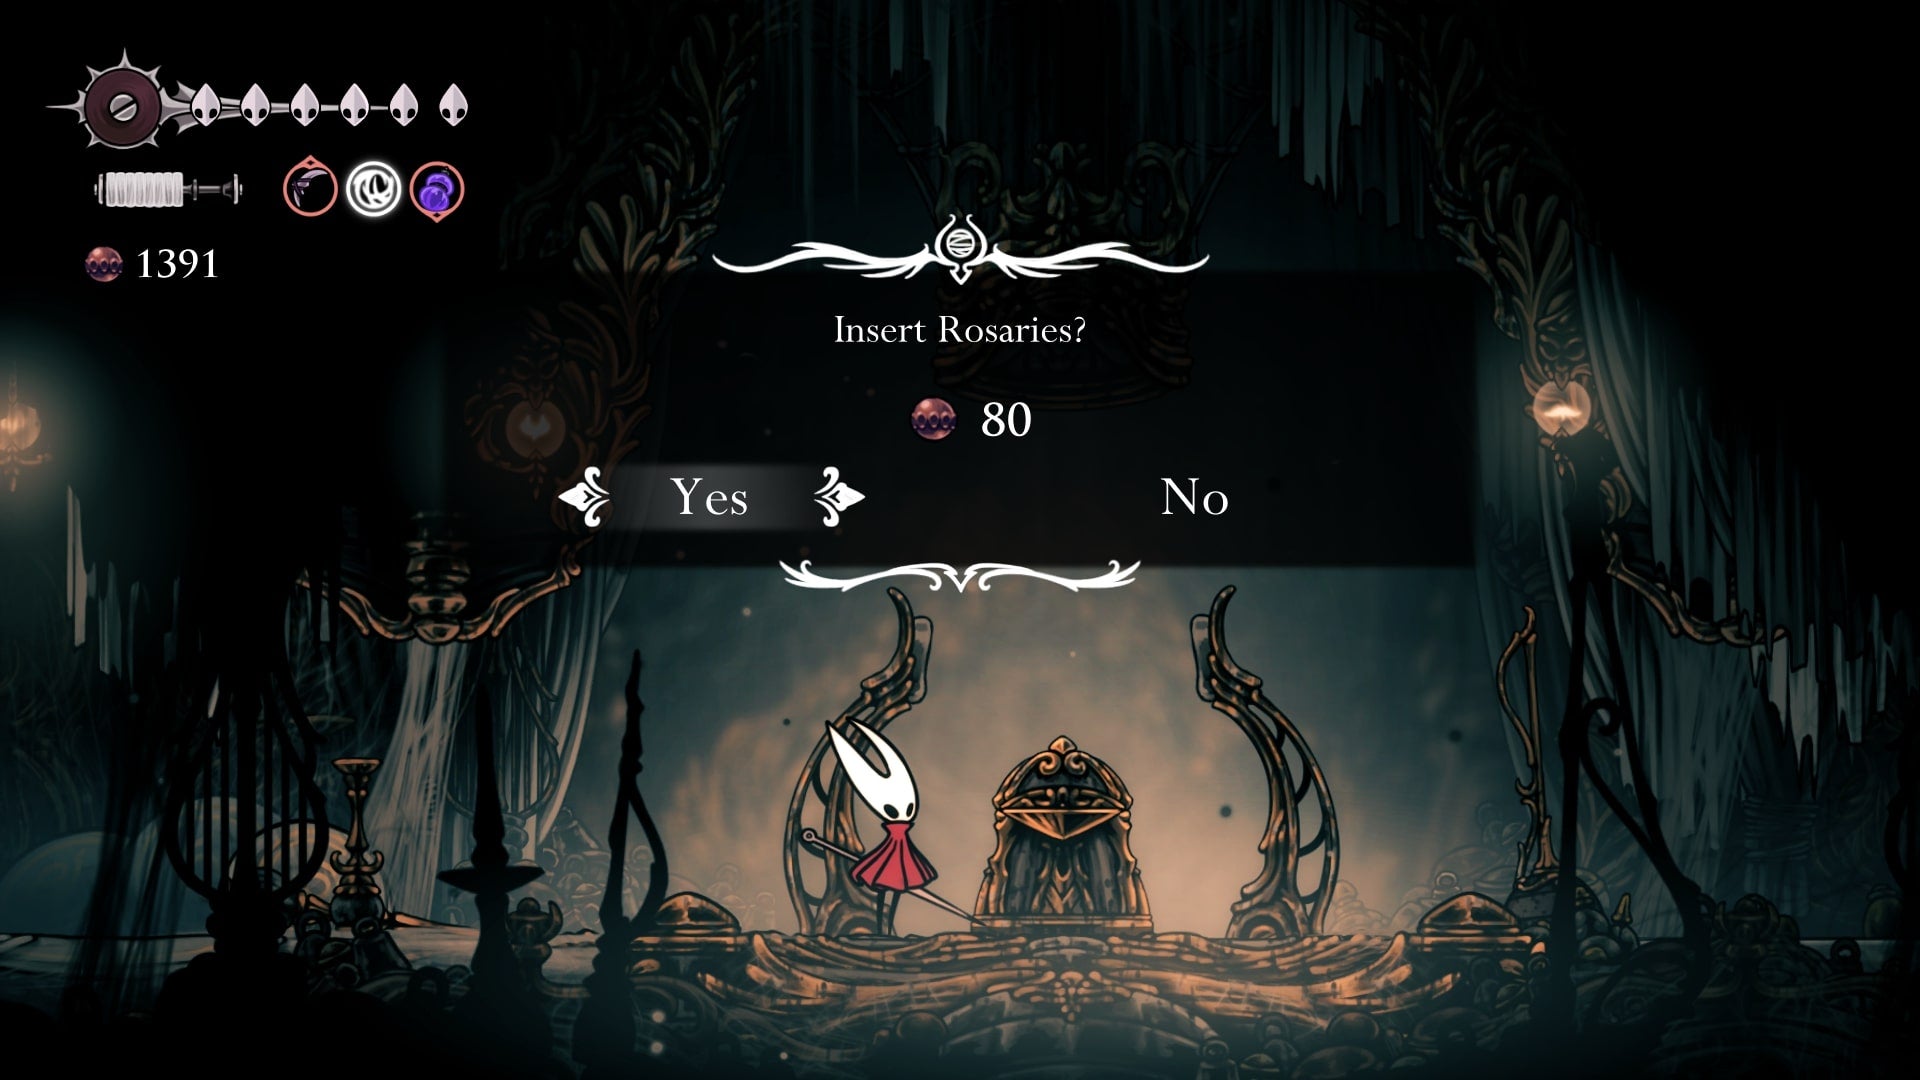
At the very bottom of the next room, head right to find a Bench finally, and it fortunately doesn't cost a single bead to unlock!
To the right of it, you'll also find a Ventrica Station that costs 80 Rosaries to unlock, as well as the High Halls Map (which will set you back 70 Rosaries).
Unlock the Rosary Cannon [optional]
If you exit the room containing the Bench and climb up the platforms on the left-hand side of the next room, you'll arrive at a door with an ornate lock on it. This door requires a Simple Key, and inside, you'll find the Rosary Cannon Tool.

This step is completely optional because if you don't care for the Tool, you can forgo this or come back later once you have a Simple Key. If you're hoping to 100% Silksong however, you unfortunately have no choice but to collect every single Tool in the game.
If you want the Rosary Cannon, keep on reading! If not, scroll down to our next objective, 'Stop the Clawmaidens from spawning.'
After unlocking the ornate door and heading inside, head right past the Rosary Necklace machine. If you then look at the ceiling, you should see a breakable surface you can attack.

In the next room, proceed downwards but be careful; there's multiple enemies, blade traps, and steam traps to be mindful of in this area, including Giant Drapemites.
Once you reach the platform pictured below – with three blades and a Giant Drapemite on it – head left and upwards to reach a room full of Rosaries for you to retrieve. Nice!


There's also a gold lever in the lower left-hand corner of the room that opens up a shortcut to the beginning of this area; don't go through there yet!
Exit the room and head downwards, being mindful of the steam jets below, and break the wall on your left to continue.

Proceed into the next room, avoiding the steam jets again, to arrive in a small room with an ornate pillar above you (pictured below). Attack this pillar and once it has been destroyed, you'll finally be able to claim the Rosary Cannon Tool from the floor.

You can now leave this area and return to the High Halls Bench to rest if need be. We've two more entirely optional things to do before tackling the infamous High Halls gauntlet and learning the Conductor's Melody!
Stop the Clawmaidens from spawning
You'll have encountered Silk-stealing Clawmaidens a few times now, and the good news is that there is a way to permanently prevent them from spawning hidden away in High Halls. This makes the upcoming gauntlet that little bit easier, so definitely do it! Otherwise, Clawmaidens will stop spawning once you reach Act 3.
From the High Halls Bench, head left to exit the room. Next, head upwards to exit the room again, and then head left to enter a room (shown below) that we won't have been in yet.


In the left of this room, there's a moveable carriage with a Frayed Rosary String atop it. We want to move this carriage to the middle of the room – where water is pouring from the ceiling – and then climb atop it to reach a hidden passage above.
Hit the right-hand side of the carriage so it moves away from the wall, allowing you to then hit the left-hand side of it so it reaches the middle of the room (shown below). You can then double-jump while on top of it to climb a wall above, where you'll find an entrance into a new room.


In the following room, prepare to take on multiple Clawmaidens. There's no point trying to kill these guys, as they'll simply keep spawning. While avoiding them to the best of your ability, you need to hit one of the carriages over to the right-hand side of the room, where a light is coming in through the ceiling.

If you look carefully, you'll also see that there's a breakable barrier where the light is coming from; destroy this and head upwards.
Head into the next room, jump past the blades, and then head into yet another room. Here, there's a lot of Silk; this is the Clawmaiden's nest. Destroy the Silk by attacking it and hallelujah, no more Clawmaidens will be bothering you from here on out.

Before we go about dealing with the High Halls gauntlet, there's one more optional objective you can attempt if you fancy!
Defeat the Second Sentinel [optional]
If you happen to have collected three Cogheart Pieces and returned them to the Second Sentinel in Cogwork Core, you'll have no doubt seen him help you out in battle across Pharloom.
The three Cogheart Pieces are found in the following regions if you're yet to grab them:
- Cogheart Piece #1: Choral Chambers.
- Cogheart Piece #2: Whispering Vaults.
- Cogheart Piece #3: Memorium.
If you then accept the Final Audience Wish from Songclave, it ultimately turns out that your friendly summon wants an honourable duel, and this takes place in the room above the High Halls Bench (which only opens up after giving the Second Sentinel the Cogheart).


Second Sentinel is a completely optional boss, so you don't need to defeat him right now to continue progressing through Silksong's story, but he's there if you fancy a fight (and fortunately very close by a Bench).
Summon help for the upcoming gauntlet
The last thing we need to do in High Halls is complete the formidable High Halls gauntlet. This is a gauntlet that sees you going against multiple waves of Choirbug enemies, and it simply never seems to end. Fortunately, there are a few ways to make this fight easier that I highly recommend doing.
The first is preventing the Clawmaiden's from spawning which we have already done. Otherwise, these pesky enemies will spawn during the gauntlet and steal your Silk, putting you in an even more precarious situation.
The second thing we can do is summon help, and you'll have two options: Garmond and Zaza, or Shakra. To summon either of these NPCs however, we need to complete specific prerequisites. Garmond and Zaza's are much easier to quickly complete, while Shakra's quest is much longer (and has you visiting some of the game's most awful areas), but Shakra makes this fight so much easier that I simply cannot recommend her enough.
By all means, attempt the fight without either summon and see how you get on! If you find yourself struggling, however, spend some time completing Shakra's quest. This means doing the following:
- Purchase all of Shakra's Maps and everything in her inventory. See all Shakra Map locations.
- Accept the Trail's End Wish from Bellhart.
- Track down Shakra on the far, eastern side of Bilewater. You do not need to defeat Groal the Great to get here.
- After finding Shakra here, she will then be summoned for the High Halls gauntlet (provided you did not complete Garmond and Zaza's quest first). You may need to speak to her outside of the gauntlet arena in High Halls first however.
The route through Bilewater to Shakra is as follows:

Once Shakra is available for summoning, it's time to go about completing the High Halls gauntlet and learning the Conductor's Melody.
Complete the High Halls gauntlet
The High Halls gauntlet consists of 11 waves of enemies. Yes, you heard that right… To help you prepare, the waves of enemies are as follows:
- Envoy, Choristor, and Reed
- Two Choristors
- Choir Bellbearer, and Reed (and a Clawmaiden if you did not destroy their nest)
- Two Ministers (and a Clawmaiden if you did not destroy their nest)
- Two Maestros
- Choir Clapper
- Choir Bellbearer, and two Reeds (and a Clawmaiden if you did not destroy their nest)
- Chorister, and two Choir Bellbearers
- Minister, and two Choir Bellbearers
- Maestro, and Reed
- Two Choir Clappers

With Shakra's help, this fight is much easier than it is to complete solo. I also found that using the Cogfly Tool found earlier on in High Halls was incredibly helpful with the aerial enemies in this fight, as well as the likes of Flea Brew and Flintslate. I also, as per usual, paired the Pollip Pouch with these Tools so that I could inflict Poison on enemies.
On top of that, the Choir Clappers are some of the worst of these enemies, and I recommend equipping the Ascendant's Grip Tool to help deal with them. These enemies will remain on the ground, meaning you can safely cling to one of the walls and wait out their attacks, pogoing off them or slinging tools at them once it's safe to do so (or you can leave Shakra to do most of the work for you).
Another particularly bad enemy to tackle during this gauntlet are the Maestros, as its very easy to get overwhelmed by their Cogflies. This is when you should deploy your own Cogflies, though it'll quickly get very busy on-screen. I found that sticking to one corner of the arena and jumping up at the Maestros to attack them – while carefully trying to not land on any Cogflies – was the only way I could get through this phase without depleting all of my Masks.

Learn the Conductor's Melody
After completing the High Halls gauntlet, proceed to your left, where you'll be able to speak to Conductor Ballador to learn the Conductor's Melody at long last.

That's High Halls all wrapped up. Up next, it's time to either head up to The Cradle to beat Lace, or explore some optional areas you may not have visited yet, such as Bilewater, Putrified Ducts, or the Wisp Thicket.
For more on Hollow Knight: Silksong, take a look at our list of all bosses, where to find all lost Fleas, and how to get all Needle upgrades.
Read this next
- Hollow Knight: Silksong's latest patch is here, but you're out of luck if you were hoping it might go easier on you
- Hollow Knight: Silksong devs admit it has "moments of steep difficulty" but also a "higher level of freedom" to avoid getting stonewalled
- Hollow Knight: Silksong's second patch detailed, but don't expect any balance tweaks