How to get the Necrofluid Gauntlet in Ashes of the Damned Black Ops 7 Zombies
How to solve Vandorn Farm box puzzle in Black Ops 7 Zombies.
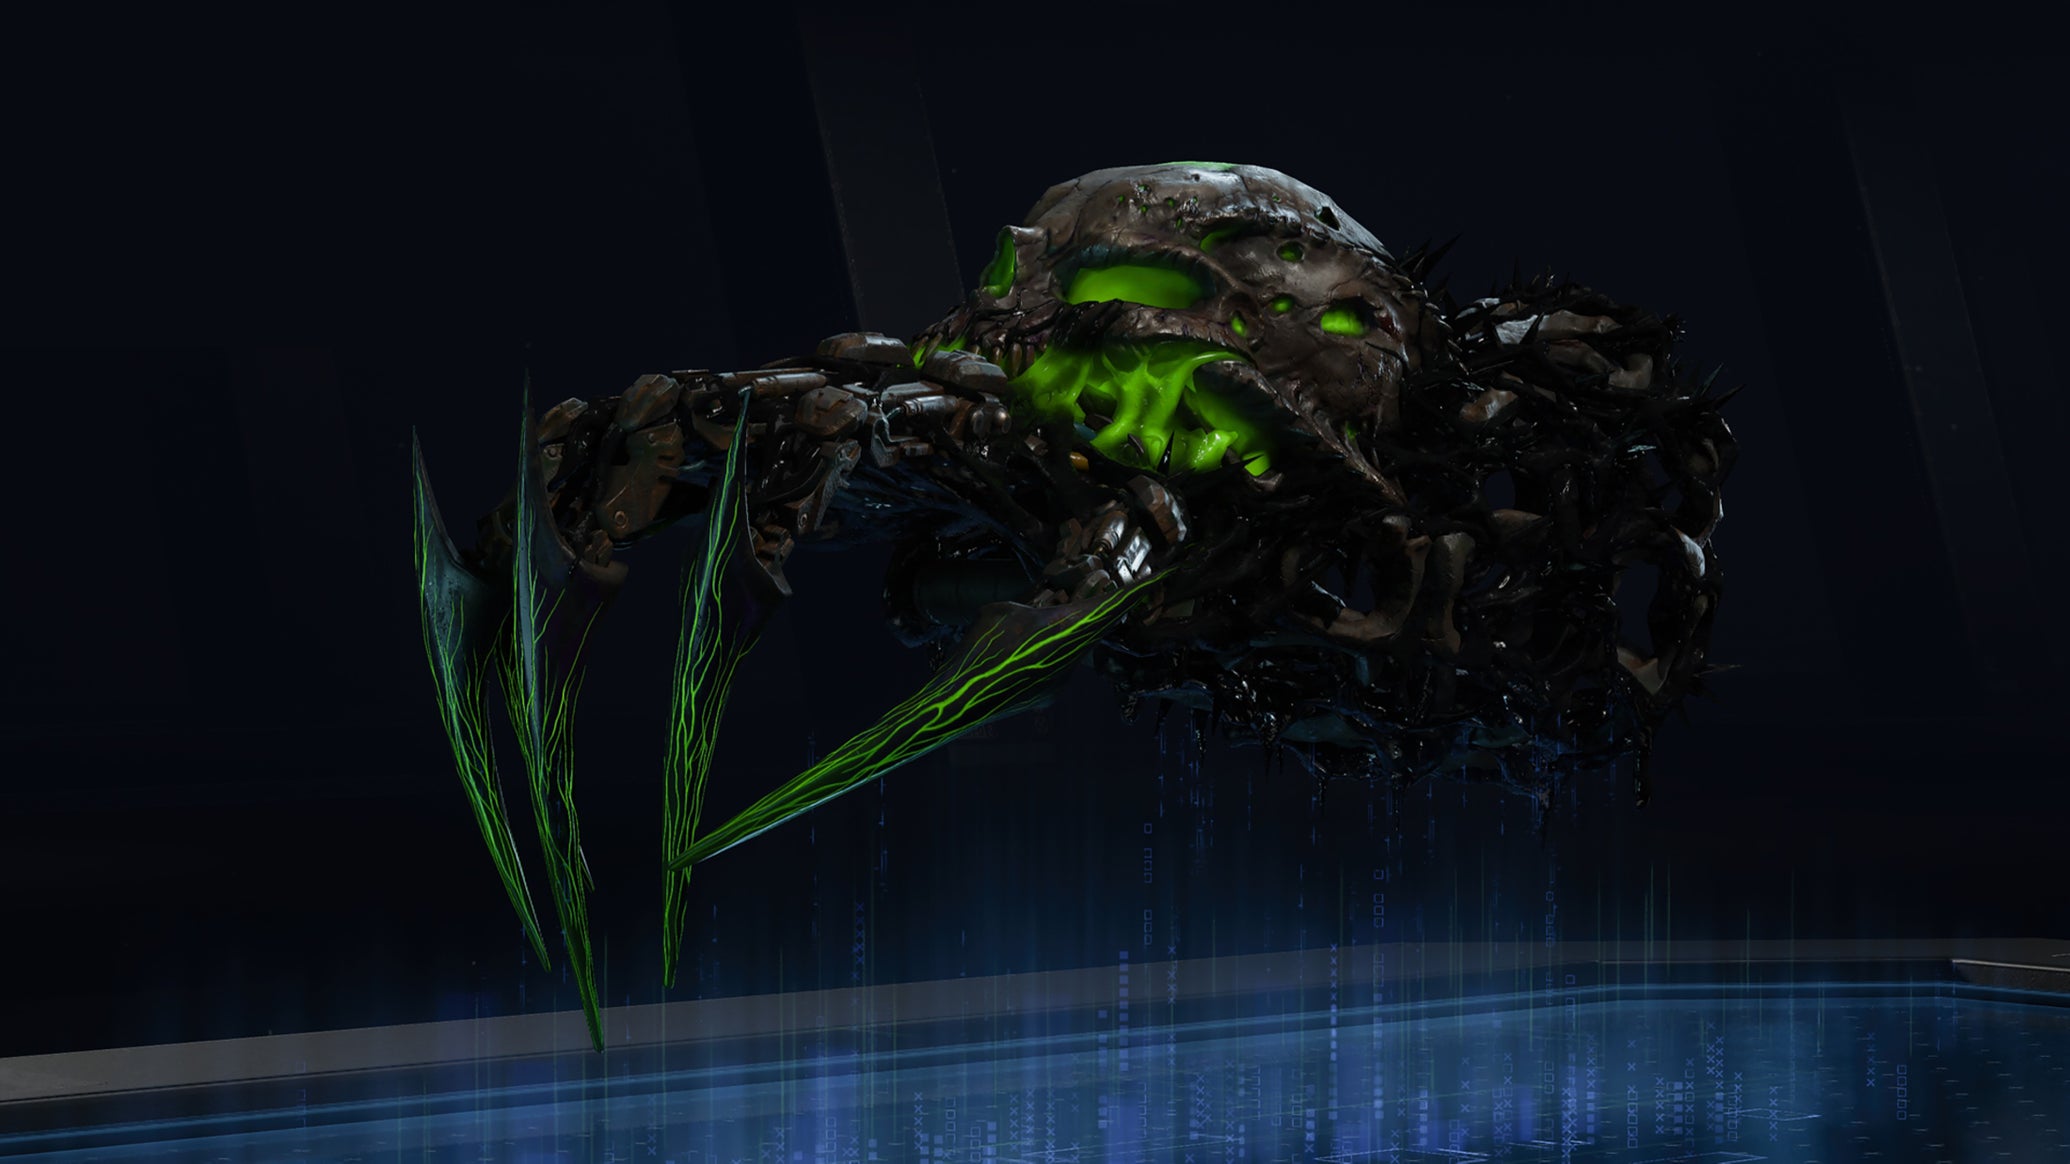

The Necrofluid Gauntlet in Ashes of the Damned is a new Wonder Weapon for Black Ops 7 Zombies.
You’ll need this when going after the main quest easter egg, but it’s also worth chasing if you’re interested in reaching higher rounds in the Black Ops 7 map.
To help you through the process of acquiring it, we’ll be running through how to get the Necrofluid Gauntlet in Ashes of the Damned, as well as how to solve the Vandorn Farm box puzzle.
On this page:
How to turn on all power switches and recruit Klaus in Ashes of the Damned
The first two goals you’ll have in looking to build the Necrofluid Gauntlet is to activate all three power switches, and recruit Klaus from the Sheriff's Office in Ashwood.
We’ve got a guide running through how to recruit Klaus and, as for the power switches, these are in three of the main locations:
- Blackwater Lake
- Vandorn Farm
- Ashwood
You’ll no doubt have completed at least Ashwood and one of the other two naturally as you play the map, but you’ll also need to head to the other location to turn on power there too.

Once you’ve done that and recruited Klaus, you’ll be ready for the first main step to build the Necrofluid Gauntlet.
How to get the Aether Barrel canister in Ashes of the Damned
With Klaus recruited and the power on, you’ll want to head to the Zarya Cosmodrome area and head underground through one of the Points-paid doors.
At the bottom of the short staircase underground, you’ll see a panel to the right of where the Canister - or Aether Barrel - is located. To begin this step, you’ll want to command Klaus to move in front of the panel and attack it with a stomp.
If you haven’t got the Klaus command on your tactical grenade slot anymore, you can call him in using one of the nearby radios.

Once the panel has been attacked, you’re able to interact with it to cause a sensor to begin scanning on a small circular area on the ground - your job is to stand in this and survive until the progress bar reaches full.
It’s a pretty quick process, and so shouldn’t take too long, but if playing in co-op, it’s easier if a teammate holds a zombie or two whilst you do this.

Once that’s done, you’ll be able to pick up the Canister, but be wary that once you do, your movement is slowed. You can still use Ol’ Tessie though, and you’ll want to use the vehicle to drive to three locations, starting with Ashwood.
How to charge up Aether Barrel in Ashes of the Damned
Head over to Ashwood, and once there, take the canister to the Power Pump - this is what you would’ve cleared the infestation from when turning on Pack-a-Punch.
Interact with the power pump once there to insert the canister and charge it up. You'll now have to do another defence process where you’ll need to survive against the zombies as they appear.

Once that process is complete the progress bar has maxed out, you’ll need to pick the canister back up by interacting with the power pump. As this happens however, a timer will begin and you’ll have to reach the next power pump before time runs out. You’ll now need to return to Ol’ Tessie and drive to the next location - we’re recommending Blackwater Lake.
After making the journey to Blackwater, you’ll repeat the same process with the power pump there. Clear out the zombies and then collect the canister after it’s fully charged, taking it to the final location in Vandorn Farm, but keep in mind the journey between locations is once again timed.


The same process has to be done at Vandorn Farm too, but once it’s completed, you’ll want to take the canister into the basement below the barn and interact with a box sat atop a pedestal.

You’ll now freely be able to move at normal speed again, and it’ll be time to move onto the penultimate step.
How to solve the Vandorn Farm box puzzle in Ashes of the Damned
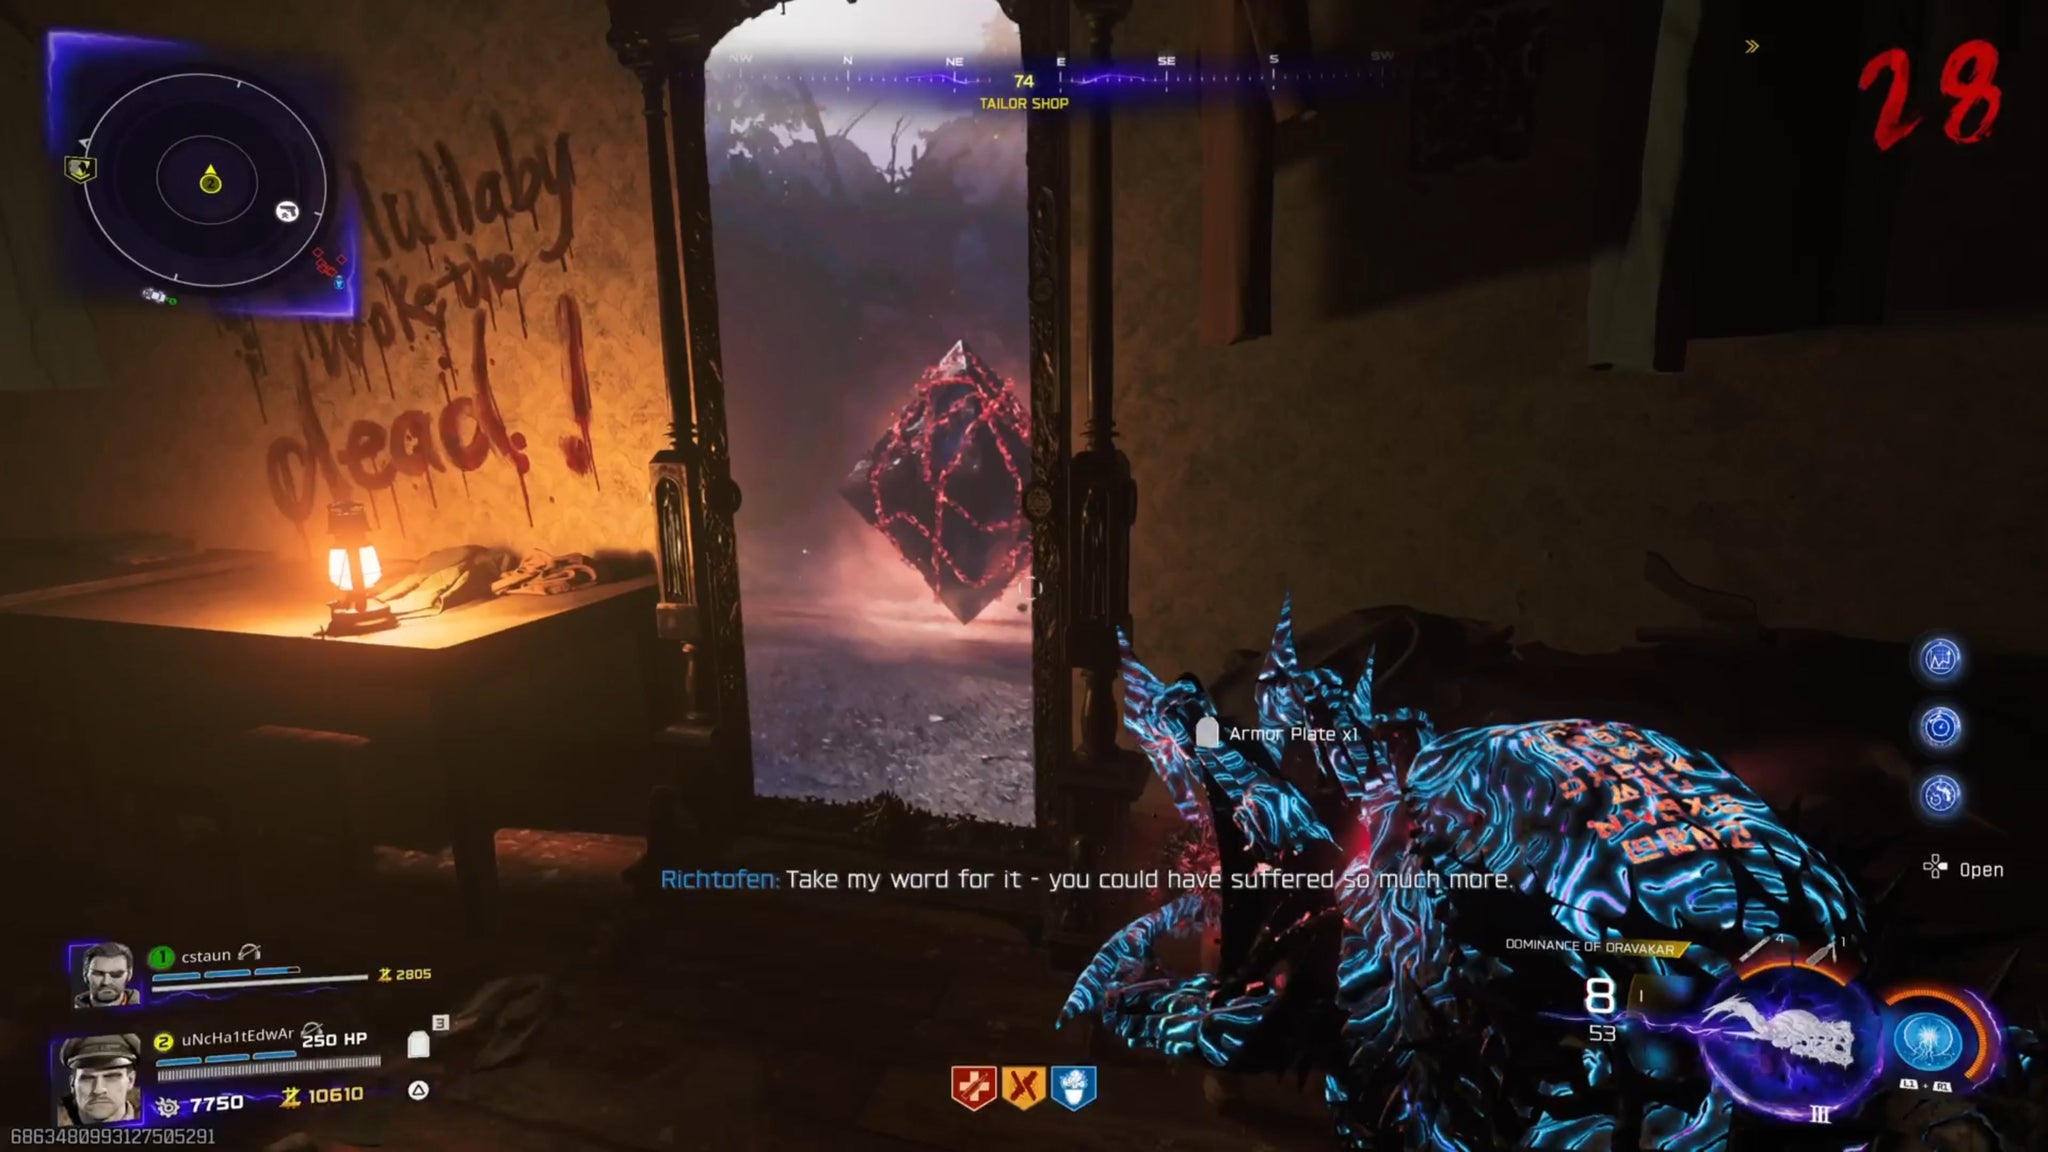
The box you’ll interact with to place the canister in has four sides you can interact with, three of which are for symbols, and the other with a moving eye... creepy.
Each of the three sides that are glowing slightly green can be interacted with, shifting through a selection of symbols. The idea is, you’ll enter the correct sequence of symbols, and then interact with the eye side to complete this step.

To find the symbols you need, you’ll need to look on the roof of the Vandorn Farm buildings, which you can only do whilst using jump pads between locations.
Specifically, you’ll want to head back to the Janus Tower Plaza, and use the jump pad to go from there to the farm.
As you’re in the air, look at the buildings as you come over the farm before you land, and make a note of the red symbols you see. This may take a couple of attempts, but if you’re quick, you should be able to spot and note them all down.

Once you’ve got your three symbols noted, head into the basement below the barn, and interact with the non-eye sides of the box to input the correct symbols.
It’s worth noting that each side has a unique selection of symbols too, so there will only be one of each of your symbols so once it’s on one side, you can be assured you have it correct - requiring it is the right symbol of course.

After you’ve got your symbols, interact with the eye to confirm the sequence. If done correctly, you’ll move onto the final step which involves a trial using the wonder weapon - though make sure you’re prepared as it can be somewhat hectic as we’ll explain below.
How to complete the basement trial and get the Necrofluid Gauntlet
For this final step, you may want to have armour and perks like Jugger-Nog for this since you will have zombies attacking you - whilst it’s a simple enough trial to complete, the zombies can get in the way and you are confined to a very small area.

Once ready, you’ll begin this by picking up the Necrofluid Gauntlet from inside the box, at which point you’ll be confined to a small green area around the box itself, and be required to destroy various green orbs in the room - on your left and right, and towards the basement’s exit.
You’ll do this by shooting them with the gauntlet, then using the weapon’s reload to crush and destroy them fully. You can shoot and destroy them one-by-one, but from my experience, it looks like you have to destroy them all within a specific window.


It might take some getting used to, and be wary of the zombies that will slowly swarm you, but ultimately it’s a fairly quick trial to complete.
After destroying all the orbs, you’ll receive the weapon to keep for yourself.
You’ll also be happy to know that the weapon can be upgraded via Pack-a-Punch too, improving its power and also unlocking a new alt-fire mode mapped to your ADS button - this is a charged attack that takes a couple of seconds to execute, but after firing the bolts and using this attack, you’ll be able to cause the bolts you fired to explode and deal additional damage to surrounding zombies.
The weapon sports impressive damage output and ammo regen capabilities, which is great since it’s a weapon you’ll need when trying to complete the main quest easter egg.
Hope you enjoy using the Necrofluid Gauntlet! We've also got guides on the full Ashes of the Damned Main Easter Egg quest, recruiting Klaus, how to upgrade Ol' Tessie and how to get free Wisp Tea.
Read this next
- In the wake of Battlefield 6 and Arc Raiders, Call of Duty: Black Ops 7 suffered a much smaller launch than previous CoD games
- Call of Duty: Black Ops 7 underperforms on Steam during launch weekend, but does that mean the game's sold badly?
- Even members of the US Congress are pushing back against Call of Duty: Black Ops 7's AI use